Homemade Reese’s Cups Dark Chocolate
Highlighted under: Bakes & Bliss
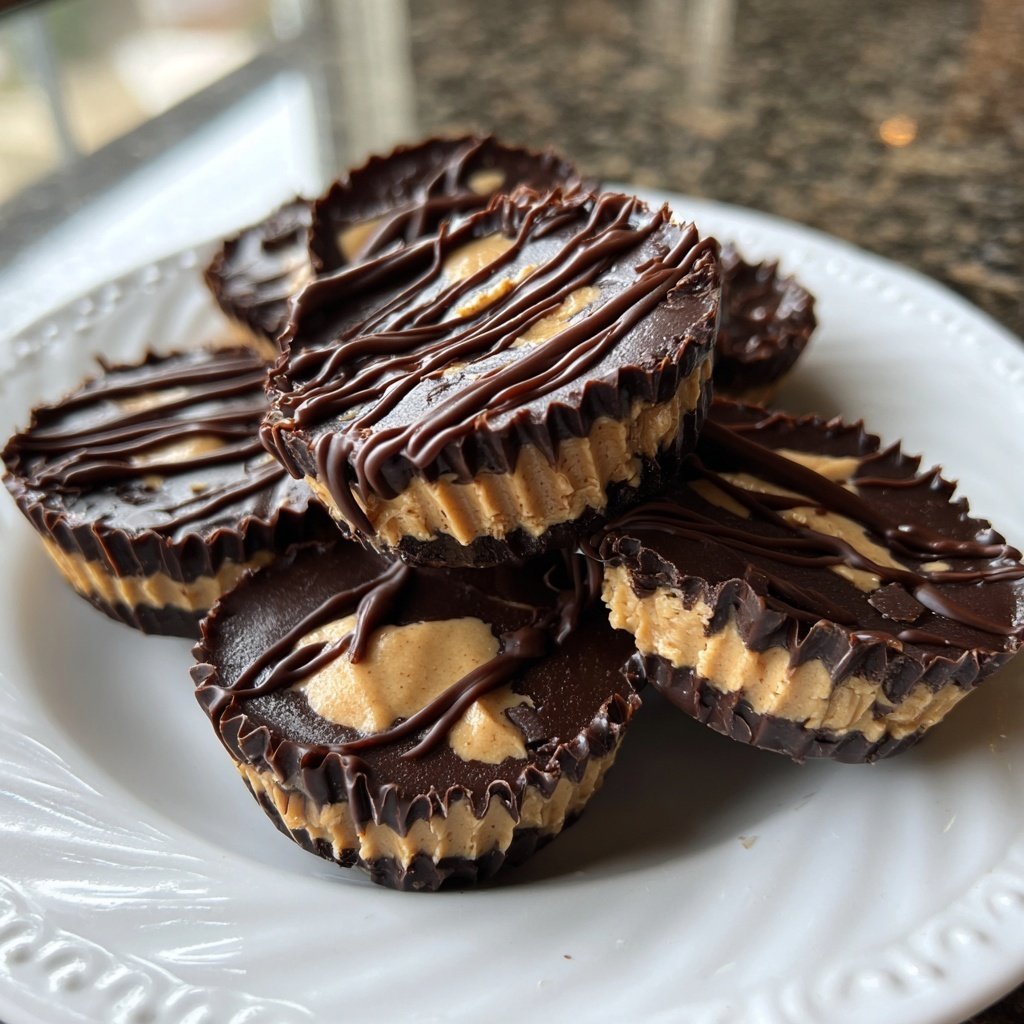
I absolutely adore making these Homemade Reese’s Cups with dark chocolate, and they never cease to impress everyone who tries them. The combination of rich dark chocolate with creamy peanut butter creates an exquisite treat that’s irresistible. I love how simple it is to customize the sweetness to my liking, making these cups a personal favorite. They’re perfect for satisfying a sweet tooth or for sharing at gatherings, and I promise you’ll feel accomplished after making them from scratch. Let’s dive into this delicious adventure together!
When I first tried making these Homemade Reese’s Cups, I never imagined how simple yet rewarding the process would be. I experimented with different chocolate types, and dark chocolate really elevated the flavor profile, balancing the sweetness of peanut butter perfectly. I also found that melting the chocolate with a bit of coconut oil lends an amazing shine and smooth texture, making every bite a delectable experience.
After a few attempts, I realized the importance of letting the chocolate harden properly in the refrigerator. This step ensures that the cups hold their shape and make for a beautifully presented treat. Each time I savor one, it reminds me of the joy in creating treats from scratch!
Why You Will Love This Recipe
- Rich dark chocolate flavor complemented by creamy peanut butter
- Customizable sweetness to suit your taste
- Perfect for gifting or enjoying during movie nights
Mastering the Chocolate Layer
When creating the dark chocolate cups, the quality of the chocolate chips can significantly impact the flavor. I prefer using a high-cocoa content dark chocolate for its rich, intense flavor, which pairs beautifully with the sweetness of the peanut butter. Be patient while melting the chocolate. Microwaving it in 30-second bursts helps prevent overheating, so it remains glossy and smooth rather than becoming grainy or burnt.
Another key to achieving perfectly sealed chocolate cups is ensuring the first layer is just set before adding the peanut butter filling. This allows the layers to meld but still gives a slight barrier to prevent the filling from sinking. Look for a surface that's firm to the touch but not fully hardened—about 5 to 10 minutes in the fridge should do the trick.
Peanut Butter Filling Tips
The peanut butter filling not only adds creaminess but also balances the richness of the dark chocolate. For optimal flavor, I recommend using natural peanut butter, as it tends to be less sweet and has a deeper nutty taste. If you're looking to reduce sugar or try a different flavor, you could substitute powdered sugar with a sweetener like honey or maple syrup, but be mindful that this might alter the texture slightly.
During the mixing stage, ensure that the powdered sugar is fully incorporated into the peanut butter. This helps to achieve a smooth and consistent filling. If the mixture feels too thick, you can soften it slightly by adding a teaspoon of coconut oil, which blends well with the filling and helps maintain its creamy texture.
Storage and Enjoyment
Once your Homemade Reese’s Cups are ready, you can store them in an airtight container in the refrigerator for up to two weeks. If you want to make them last longer, consider freezing them. Just place them in a single layer in the freezer, and when they’re fully frozen, transfer them to a freezer bag. They can last up to three months and can be enjoyed by letting them sit at room temperature for a few minutes before indulging.
These cups are highly versatile, making them great for various occasions. You can add a sprinkle of sea salt on top before chilling for that trendy salted chocolate flavor. Or, get creative and mix in chopped nuts or crushed pretzels in the peanut butter filling for added crunch. No matter how you choose to personalize them, these tasty treats are sure to become a go-to dessert!
Ingredients
Gather these simple ingredients before getting started:
For the Dark Chocolate Cups
- 1 cup dark chocolate chips
- 2 tablespoons coconut oil
For the Peanut Butter Filling
- 1 cup creamy peanut butter
- 1/2 cup powdered sugar
- 1/2 teaspoon vanilla extract
Once you have your ingredients ready, you're all set to create these delicious treats!
Instructions
Follow these steps to make your own Reese’s Cups:
Melt the Chocolate
In a microwave-safe bowl, combine the dark chocolate chips and coconut oil. Microwave in 30-second intervals, stirring between each, until smooth and fully melted.
Prepare the Cup Molds
Line a muffin tin with paper liners. Using a spoon, pour a small amount of melted chocolate into each liner, just enough to cover the bottom.
Create the Filling
In a mixing bowl, combine the peanut butter, powdered sugar, and vanilla extract until smooth. Once the chocolate in the liners has set slightly, add a spoonful of peanut butter mixture on top of the chocolate.
Seal the Cups
Pour more melted chocolate over the peanut butter filling, ensuring it's completely covered. Repeat until all liners are filled.
Chill and Serve
Place the muffin tin in the refrigerator for at least 20 minutes or until chocolate is fully hardened. Carefully remove the cups from the liners and enjoy!
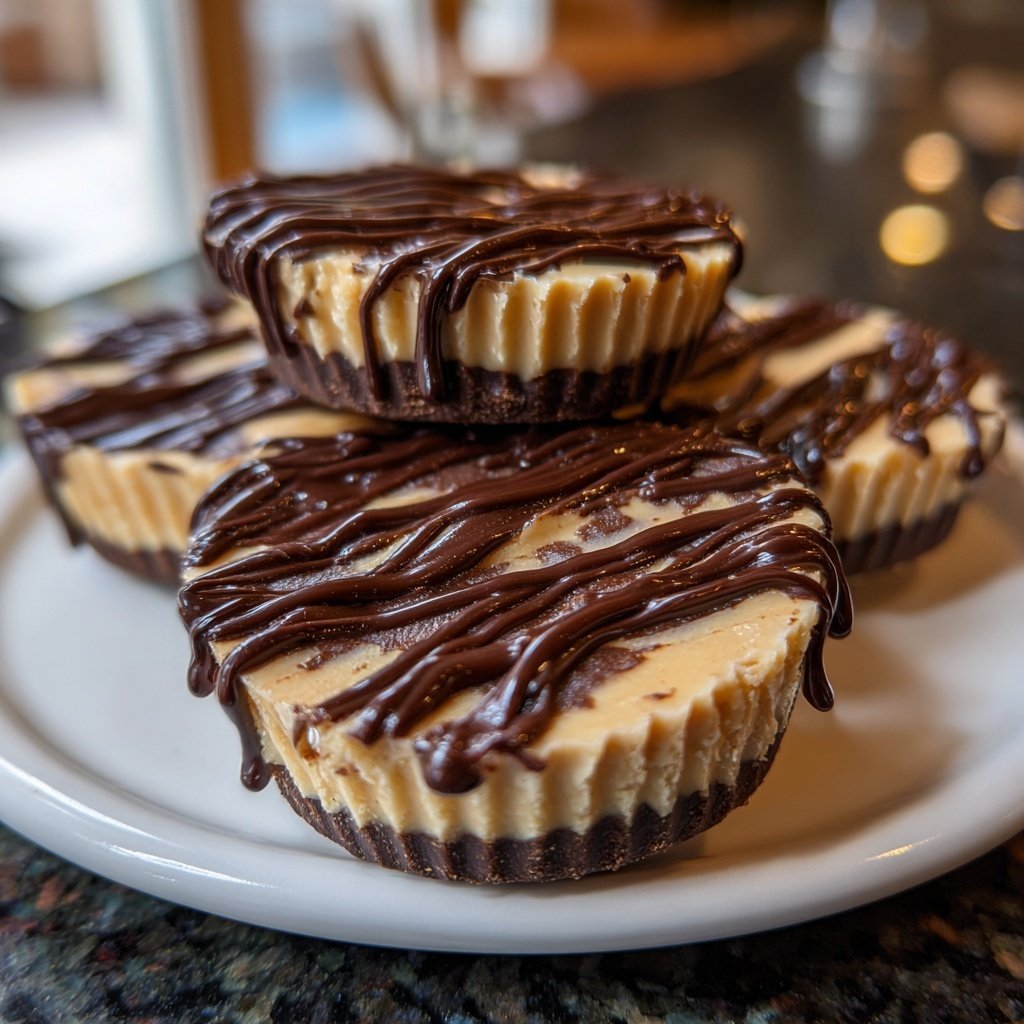
Now, take a moment to admire your homemade creations before diving in!
Pro Tips
- For the best texture, try using natural peanut butter without added oils or sugars. Additionally, feel free to experiment with different chocolate types or even sprinkle some sea salt on top before chilling for an added flavor kick!
Scaling the Recipe
If you're planning to make a larger batch of these Reese’s Cups for a gathering, scaling the ingredients is simple. For every doubling of the recipe, just double all the ingredients accordingly, keeping the same ratios for the chocolate, peanut butter, and sugar. Using a larger muffin tin or additional liners will help accommodate the increase in volume, ensuring everything sets evenly without overflow.
To ensure that the chocolate and peanut butter filling is mixed consistently, it may be beneficial to melt chocolate in larger portions if scaling up. Just keep stirring frequently to maintain a smooth texture throughout the melting process.
Troubleshooting Common Issues
One common issue people face is the chocolate separating or becoming too thick during melting. If this happens, add a small amount of coconut oil to the chocolate when melting. This not only helps to achieve a silky texture but also gives the cups a nice sheen when set. If you've accidentally overcooked the chocolate, you may need to discard it and start over as burnt chocolate cannot be salvaged.
Another potential pitfall is achieving a consistent filling texture. If your peanut butter mixture feels too runny, try incorporating a bit more powdered sugar until you reach your desired creamy consistency. Conversely, if it's too thick to spread easily, a slight addition of room temperature peanut butter can help achieve the right spreadable texture.
Questions About Recipes
→ Can I use milk chocolate instead of dark chocolate?
Absolutely! Milk chocolate will give a sweeter taste, but dark chocolate adds a rich depth to the flavors.
→ How long will these cups last?
They can be stored in an airtight container at room temperature for up to a week or refrigerated for up to two weeks.
→ Can I make these vegan?
Yes! Simply use dairy-free chocolate chips and ensure the peanut butter is free from any animal products.
→ What if I don’t have coconut oil?
You can substitute with vegetable oil or omit it completely; however, the texture may vary slightly.
Homemade Reese’s Cups Dark Chocolate
Created by: Abigail Foster
Recipe Type: Bakes & Bliss
Skill Level: Intermediate
Final Quantity: 12 cups
What You'll Need
For the Dark Chocolate Cups
- 1 cup dark chocolate chips
- 2 tablespoons coconut oil
For the Peanut Butter Filling
- 1 cup creamy peanut butter
- 1/2 cup powdered sugar
- 1/2 teaspoon vanilla extract
How-To Steps
In a microwave-safe bowl, combine the dark chocolate chips and coconut oil. Microwave in 30-second intervals, stirring between each, until smooth and fully melted.
Line a muffin tin with paper liners. Using a spoon, pour a small amount of melted chocolate into each liner, just enough to cover the bottom.
In a mixing bowl, combine the peanut butter, powdered sugar, and vanilla extract until smooth. Once the chocolate in the liners has set slightly, add a spoonful of peanut butter mixture on top of the chocolate.
Pour more melted chocolate over the peanut butter filling, ensuring it's completely covered. Repeat until all liners are filled.
Place the muffin tin in the refrigerator for at least 20 minutes or until chocolate is fully hardened. Carefully remove the cups from the liners and enjoy!
Extra Tips
- For the best texture, try using natural peanut butter without added oils or sugars. Additionally, feel free to experiment with different chocolate types or even sprinkle some sea salt on top before chilling for an added flavor kick!
Nutritional Breakdown (Per Serving)
- Calories: 380 kcal
- Total Fat: 26g
- Saturated Fat: 15g
- Cholesterol: 195mg
- Sodium: 85mg
- Total Carbohydrates: 32g
- Dietary Fiber: 3g
- Sugars: 24g
- Protein: 6g